Albumen Printmaking Workshop
Call for Participants !
No entry fee
We present albumen printmaking workshops which are open to the public.

Workshop on Saturday March 11, 2017
Place : Our RépubliqueAddress : 38 Rue de la République, 42000 Saint-Étienne, France
Come in between 10am to 0pm, or 1pm to 4pm (workshop takes about 1 hour)
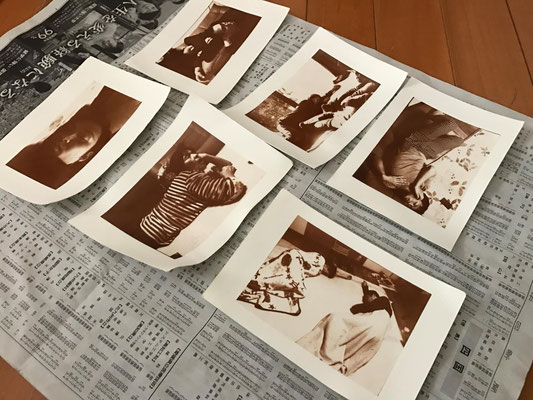
Bring in your photo from your home , or we can make your portrait.
Artist Aiko Harada would direct a scheduled workshops for one day.
You can bring in your photos with digital data (jpeg, tiff, png, eps, psd,raw,etc.), or printed photos (up to A4 210mm x 297mm) and re-print them with albumen print process.
Feel free to join our workshop which unites 19th century photography technique and 21st century digital technique.
*Note that we would need 3 or 4 more hours to finish and dry prints. Please come back to get your prints later during the exhibition. Or we can mail the print later if you can leave your address.


How to make albumen prints (complete guide)
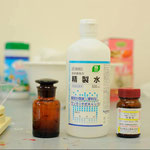
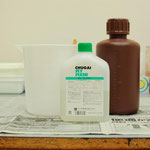
MATERIALS
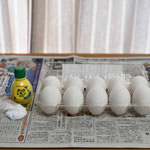


● Eggs
● Salt
● lemon juice (or vinegar)
● silver nitrate
● purified water
● fixer for regular black and white paper
● Ag guard = photo chemical to make images be stable
● paper for base
● black and white negative film or Pictorico TPU100 Premium OHP Transparency Film to make negative from digital data.
PROCESS
① Making base albumen paper ( preparation before the workshop )
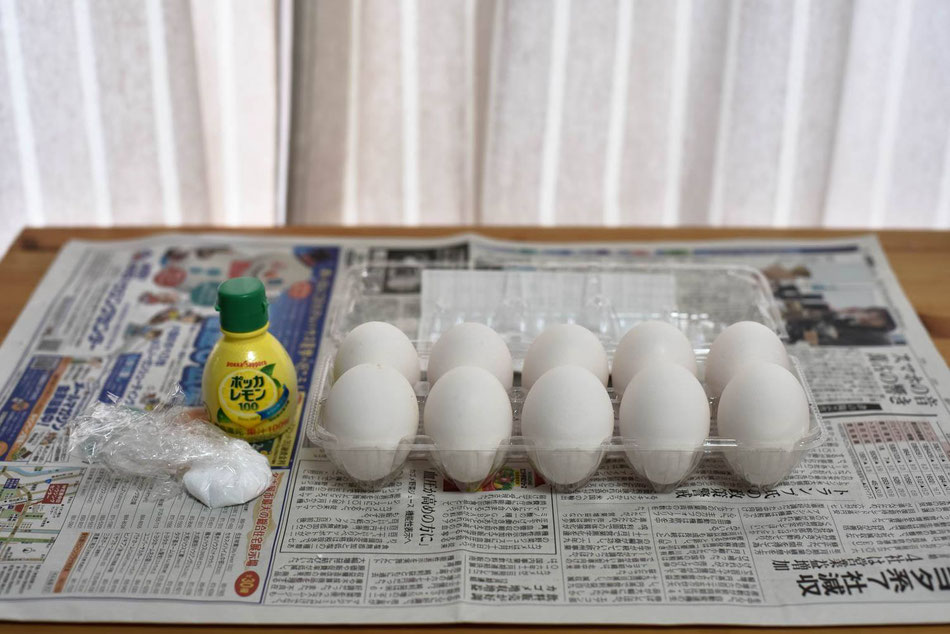
1.Open eggs into a bowl.
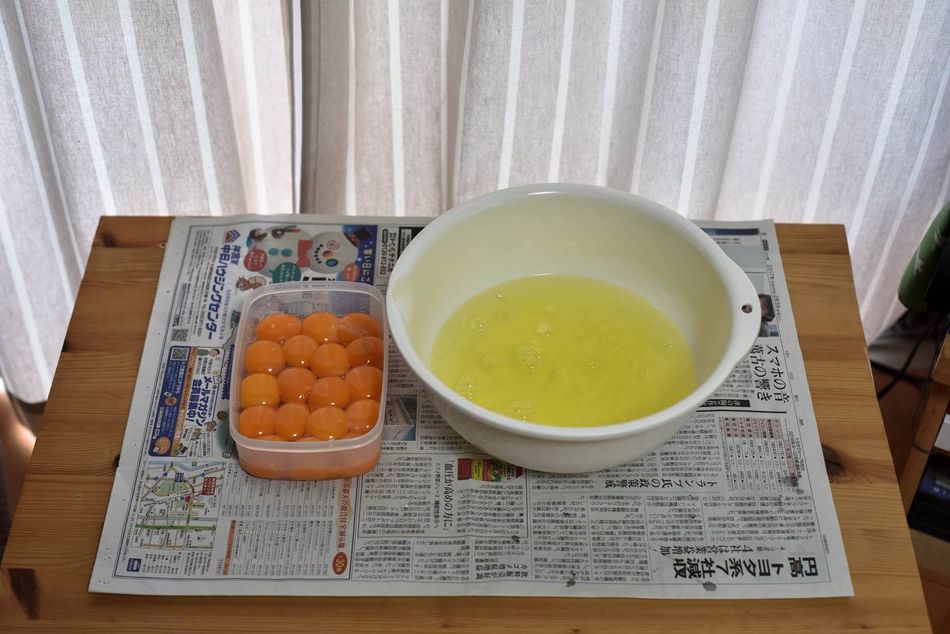
2. Remove egg york
3. Apply salt and lemon juice to the bowl.
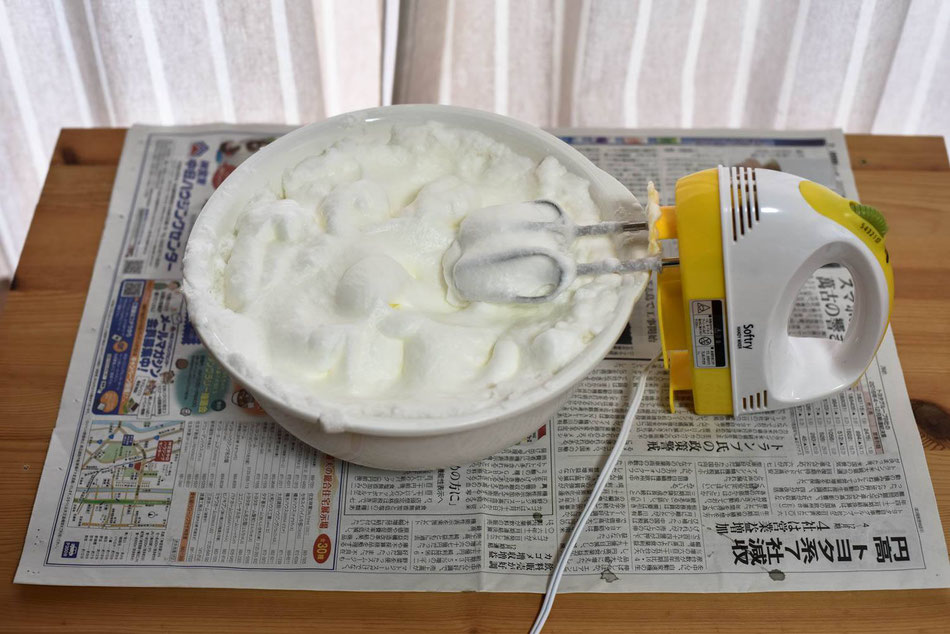
4 Mix completely with electric mixer for about 30 minutes to 1 hour.
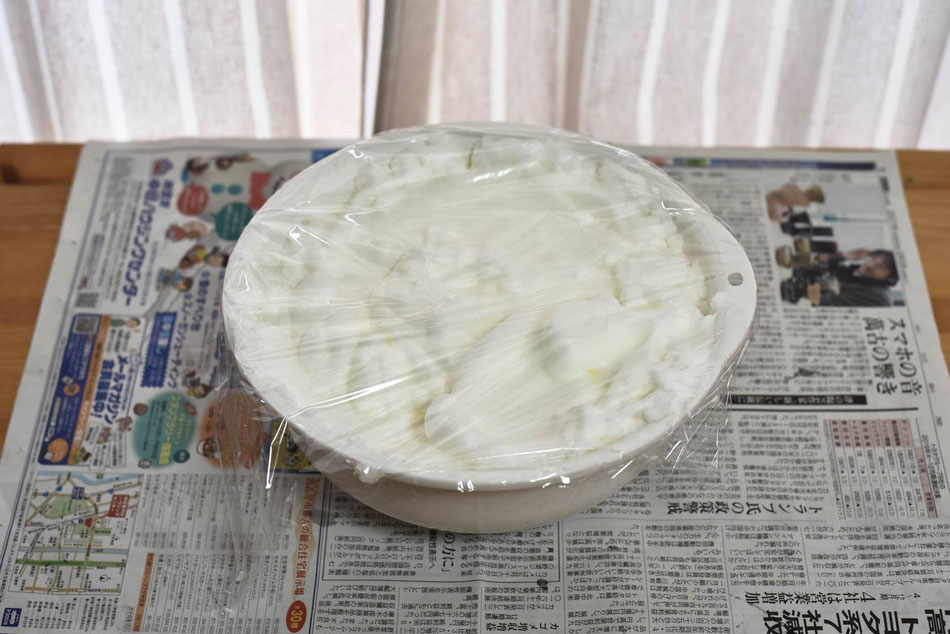
5. Leave the bowl for several hours until the form would disappere.
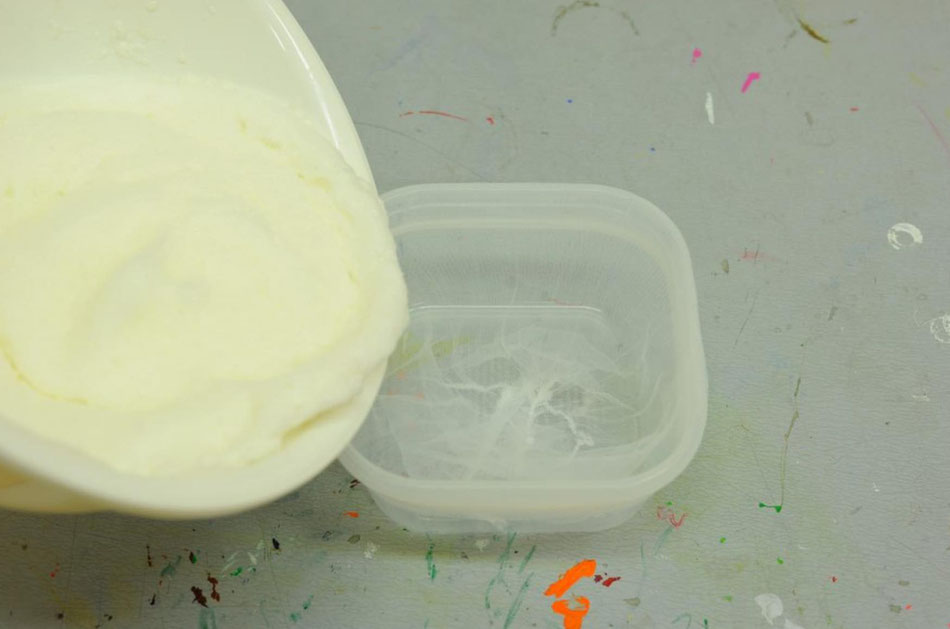
6. Strain the egg solution with gauze
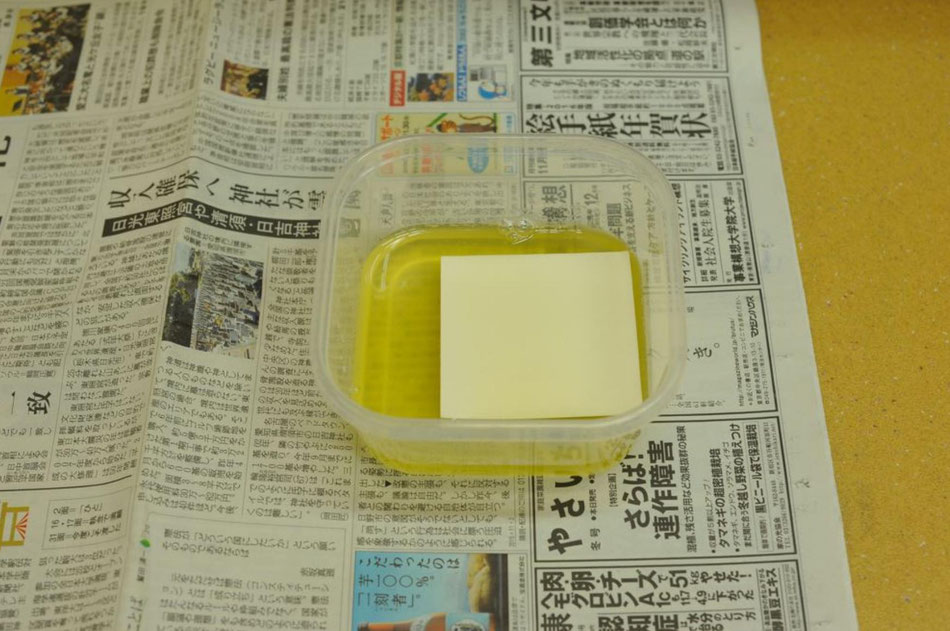
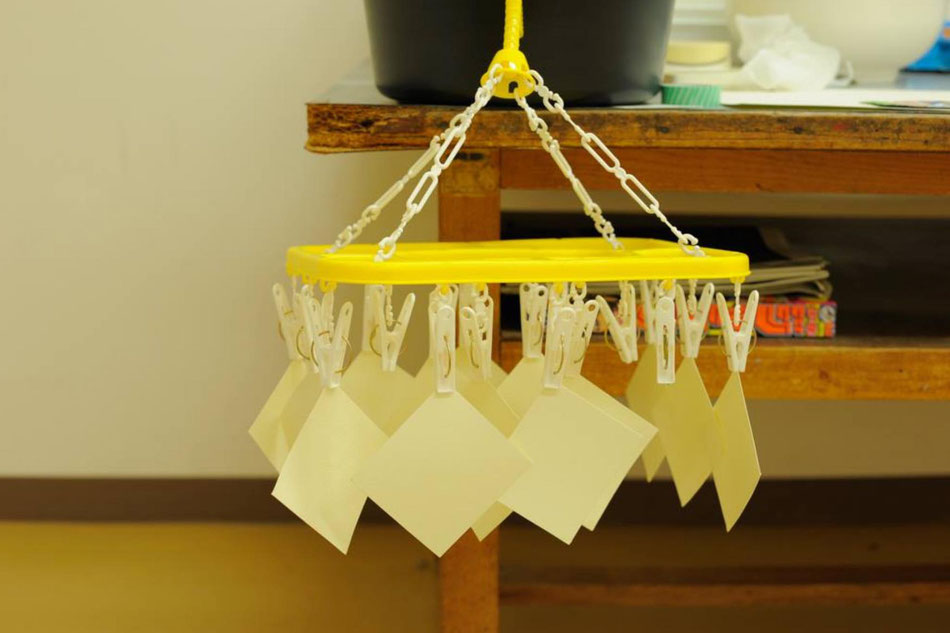
7. Soak papers in the egg solution to coat and let them dry.
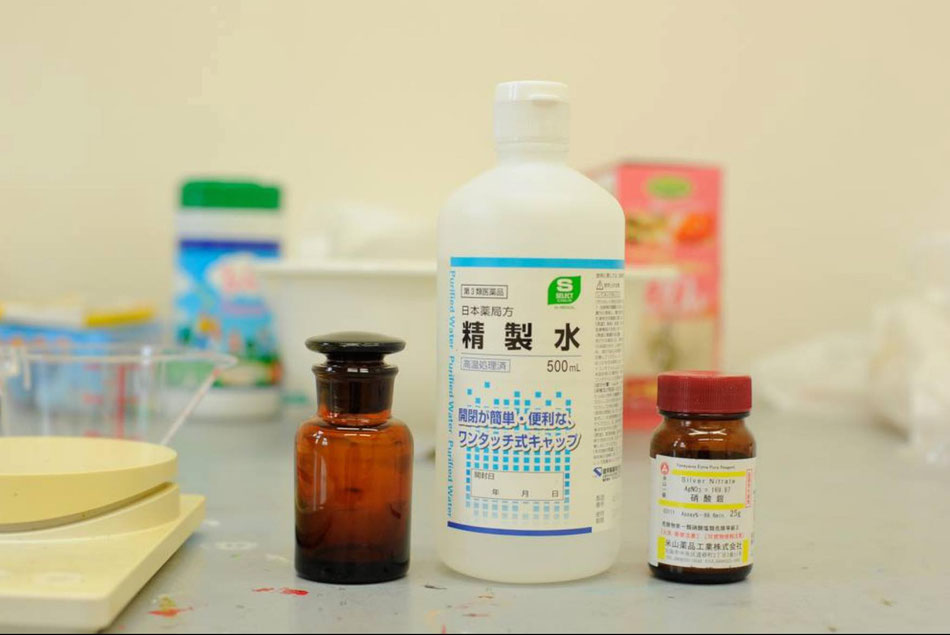
8. Mix silver nitrate in the purified water completely to make silver nitrate solution
② Printing albumen paper ( This is what you would do for the workshop )
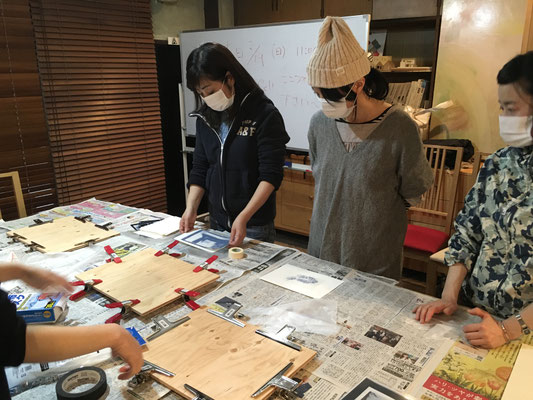


9. Fix the dried paper with egg solution from ① on a plywood board
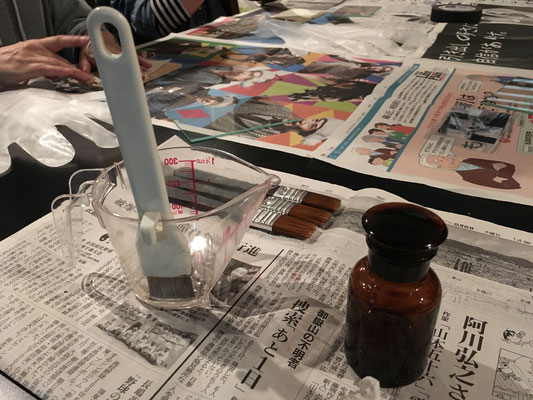

10. In a relatively dark room, apply the silver nitrate solution on the paper with brush, and let it dry. This process make the paper be light sensitive.
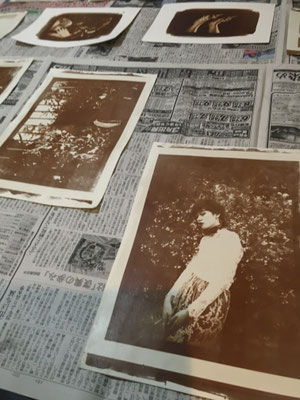
③ Exposure


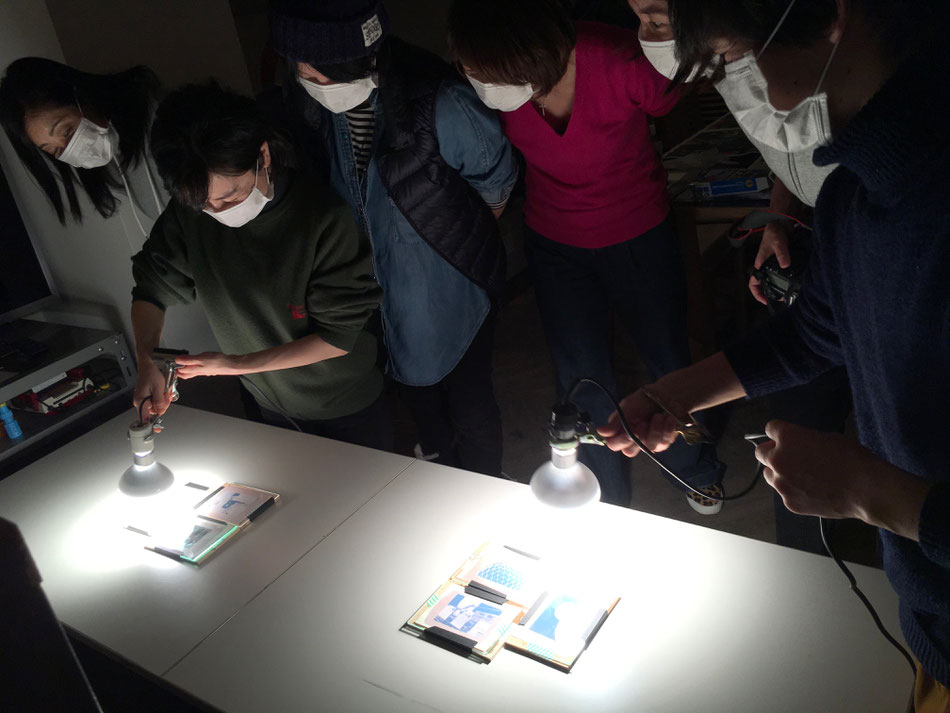
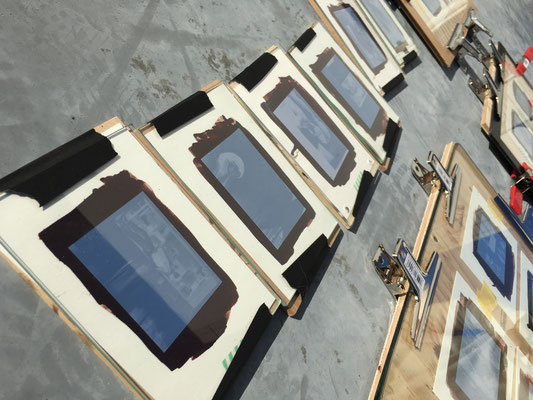
11. Place a negative film on the light sensitive paper from ② and fix them together with a piece of glass on the top.

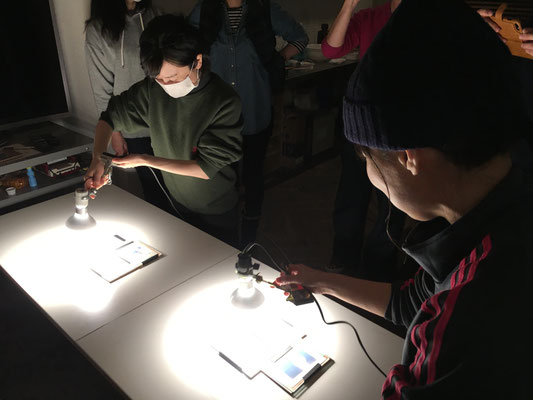
12. Then, expose them to the light. You can use the sunlight or light bulb. ( There is no fixed exposure time. Since images appear without development, you can evaluate its darkness visually and adjust your exposure time.)
④ Finish


13. After exposure, wash the print thoroughly with running water. Dip the print in B&W print fixer. (for about 5min.) Wash the print thoroughly with running water (for about 30 to 60 min ) Then dry it to finish !